Pumpkin Cake Pops
These Pumpkin Cake Pops are almost too cute to eat! Shaped like little pumpkins and coated in orange candy melts, they’re a festive Halloween treat kids will love helping to create. Whether you add faces for jack-o’-lanterns or keep them simple, these pops are a party-perfect snack.
Skill Level, Time, and Supervision
Skill Level: 9+ with grown-up help (especially for melting chocolate and using molds)
Prep Time: 10 minutes
Cook Time: 30 minutes
Active Time: 20 minutes
Rest Time: 15 minutes
Total Time: 1.5 hours
Yield: 12 cake pops
Why You’ll Love Making This
• Turns classic cake pops into festive pumpkin shapes.
• Teaches kids baking basics and candy coating skills.
• Can be decorated with or without jack-o’-lantern faces.
• Fun activity for Halloween parties or classroom treats.
What You’ll Need
Equipment
• Medium saucepan
• Measuring cups and spoons
• Whisk
• Mason jar (for storage)
• Pumpkin silicone molds
• X-Acto knife (for grown-up use only)
• Popsicle sticks
Ingredients
• 1 box chocolate cake mix
• 3 eggs
• 1/3 cup vegetable oil
• 1 cup water
• 2 cups orange candy melts
• 1 tbsp coconut oil or paramount crystals
Step-by-Step Instructions
- Bake the Cake
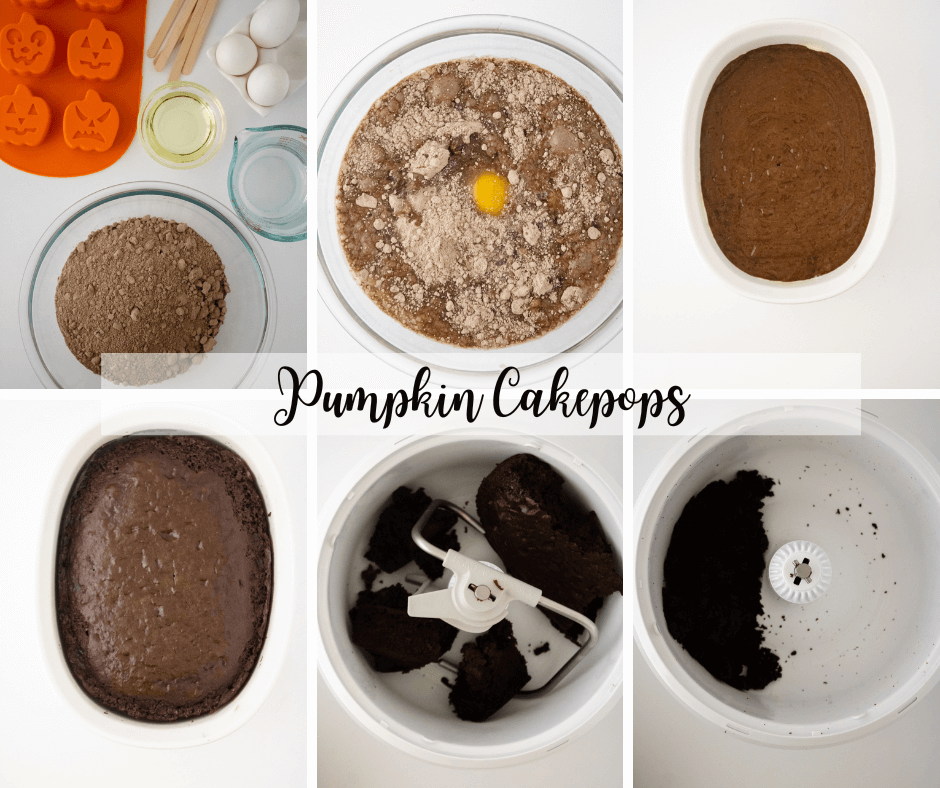
In a stand mixer, combine cake mix, oil, water, and eggs. Mix according to package directions and bake. - Make Cake Pop Dough
While still warm, place the baked cake into the stand mixer with a paddle attachment. Mix on medium until it becomes a dough. Set aside. - Melt Candy Coating
Melt orange candy melts with coconut oil in 30-second increments, stirring each time, until smooth and pourable. - Prep the Molds
Using an X-Acto knife, carefully cut slits in the silicone pumpkin mold large enough to slide popsicle sticks through.

- Fill the Molds
Coat the insides of the molds with melted orange candy coating. Insert sticks, then freeze for 10 minutes. - Add the Cake Dough
Fill molds with cake dough, leaving room at the back to seal with more melted chocolate. Freeze again for 10–15 minutes. - Release the Pumpkins
Gently pull the mold sides outward and push pops out through the slit. Touch up any exposed spots with more melted chocolate. - Decorate Faces (Optional)
Use black chocolate or buttercream to pipe on eyes, noses, and mouths for jack-o’-lanterns.
👩👧👦 Parent Tip: Younger kids can help roll the cake dough and place sticks, while grown-ups handle the cutting and melting.
🍽️ Chef Tip: For smoother coverage, tap the molds on the counter after filling with melted chocolate to release air bubbles.
Pro Tips for Success
• Use just enough coconut oil to thin the chocolate—too much and it won’t set.
• Work in batches to prevent melted chocolate from hardening too soon.
• Freeze only until set; over-freezing can cause cracking.
Make It Your Own
• Try vanilla or red velvet cake mix for a surprise inside.
• Add edible glitter or green candy melts as pumpkin stems.
• Skip the faces and keep them as simple pumpkins for Thanksgiving.
Tips for Grown Ups Assisting
• Handle the X-Acto knife and hot melted chocolate.
• Help guide kids when inserting sticks so cake pops stay secure.
• Store finished cake pops in an airtight container at room temp or refrigerate if warm.
FAQ from Chefs-in-Training
Q: Can I skip the silicone molds?
A: Yes, just roll cake balls, dip them in orange chocolate, and draw faces for a simpler version.
Q: How do I keep cake pops from falling off the stick?
A: Dip the tip of each stick into melted chocolate before inserting into the cake ball.
Q: Can I make these ahead of time?
A: Yes! Store up to 3 days in a cool, dry spot.
Spooky Season Treats
- Nutter Butter Mummy Cupcakes
- How to Make cute Bat Oreo Pops
- How to make Halloween Skeleton Cocoa Bombs
- How to Make Bloody Brain Cupcakes Tutorial
- How to Make Mad Scientist Cupcakes Slime Cupcake Tutorial
- Baby Frankenstein Buttercream Board
- Cauldron Oreo Pops
- Ghost Cupcakes Tutorial
- Mummy Oreo Pops
- Pumpkin Themed Cake Pops
Why These Pumpkins Are the Pick of the Patch
Pumpkin Cake Pops bring all the fun of Halloween in one bite-sized treat. They’re festive, kid-friendly, and a creative twist on the classic cake pop—guaranteed to be the hit of your spooky celebration!
Pin for Later
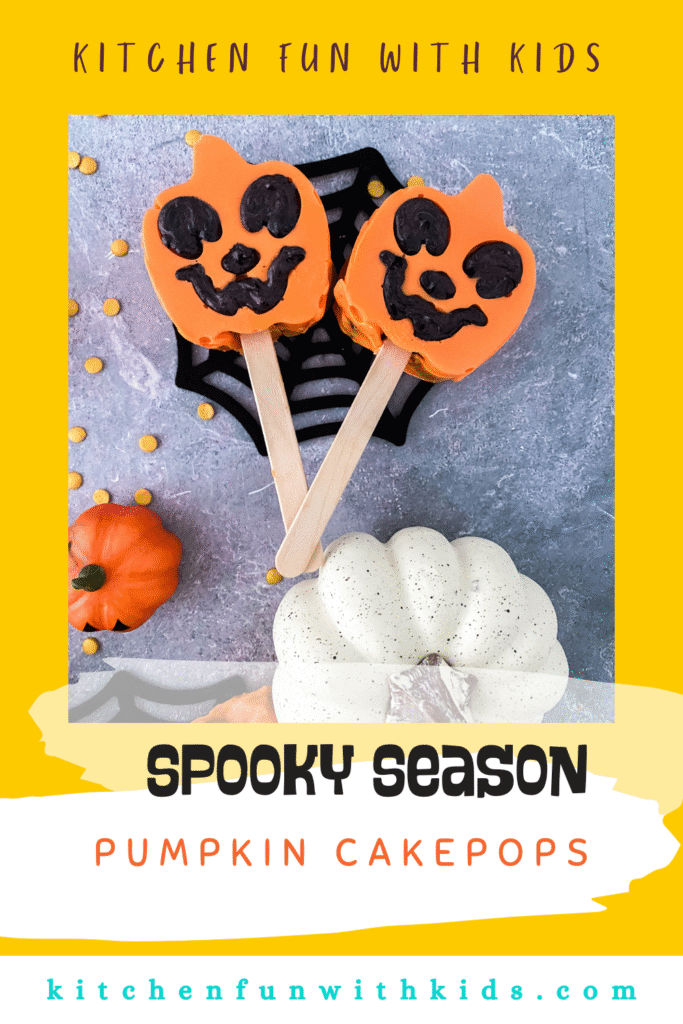
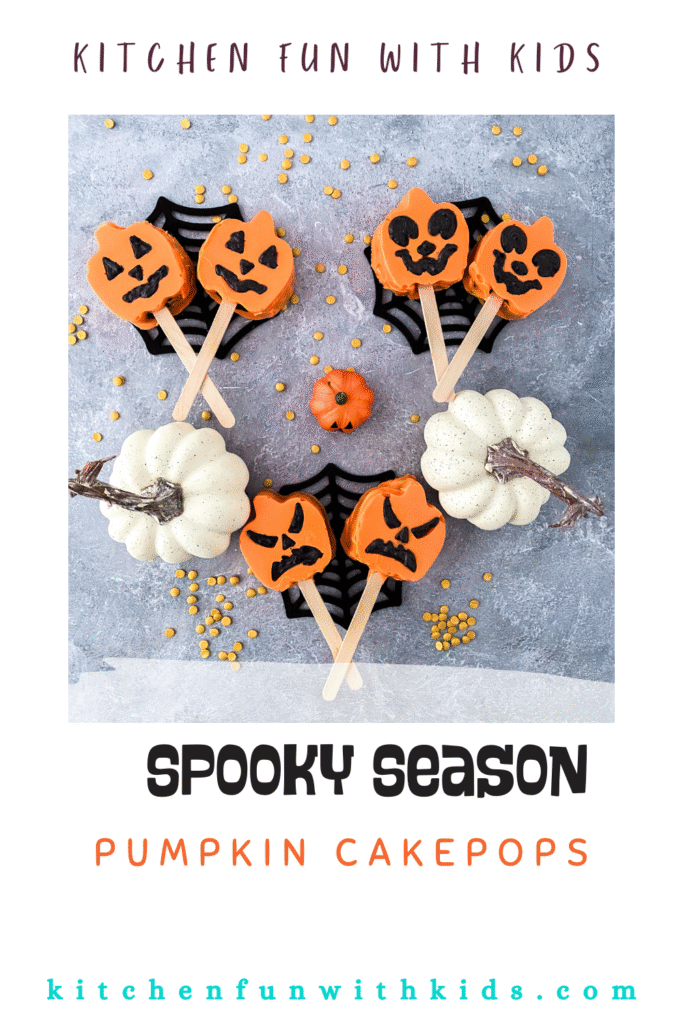
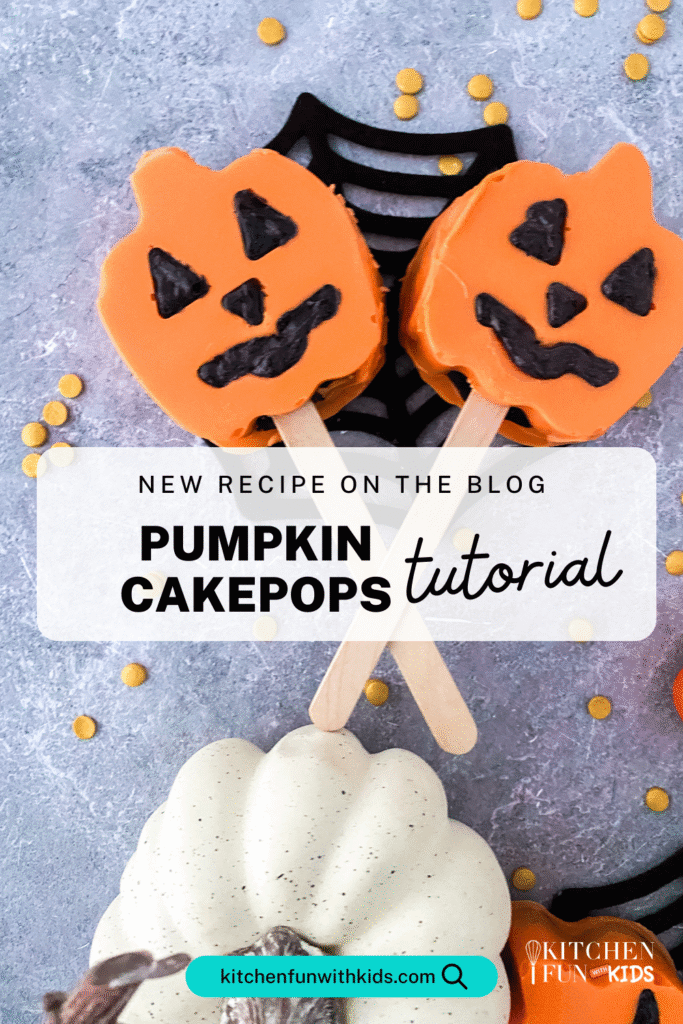
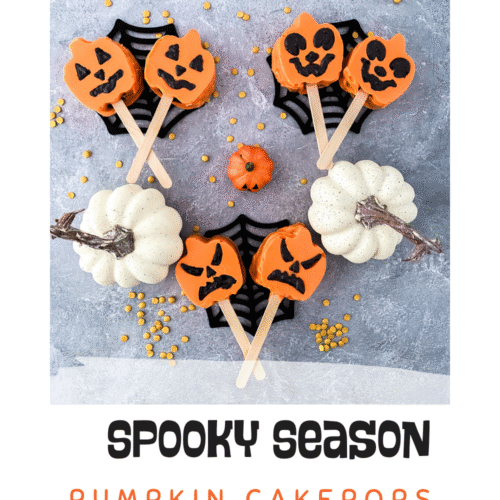
Pumpkin Cake Pops
Equipment
- Medium Sauce Pan
- Measuring cups and spoons
- Whisk
- Mason jar for storage
- Pumpkin Silicon Molds
- Xacto Knife
- Popsicle sticks
Ingredients
- 1 box chocolate cake mix
- 3 eggs
- 1/3 cup vegetable oil
- 1 cup water
- 2 cups orange candy melts
- 1 tbsp coconut oil or paramount crystals
Instructions
- Add cake mix, oil, water and eggs to a stand mixer
- Mix according to package instructions and bake
- After it is done, add to the bowl of a stand mixer and use the paddle attachment
- Mix the hot cake on medium speed until a dough forms.
- Remove the cake pop dough and set aside.
- Melt the candy melts with the coconut oil, this helps thin it out but allows to set.
- Melt in increments of 30 sec, stirring in between each time
- Cut the silicon mold and then create a slit large enough for the sticks, with the xacto knife.
- Add in the melted chocolate, making sure to coat the sides well
- Slide the sticks in and then freeze for 10 mins
- Add in the cake pop dough, leaving enough space on the inside to add chocolate to the back
- Freeze again for 10-15 mins
- Carefully pull the sides of the silicon mold outward releasing the cake pop
- Then push up through the slit.
- If your cake pops are not fully covered, add melted chocolate to the exposed cake pop dough areas with a knife (shown on photo)
- Add black chocolate or black buttercream to the eyes, nose and mouth (or leave as is)
- Let set, serve and enjoy!


