Fun & Easy Piping Bag Tutorial for Kids: Decorate Cupcakes Like a Pro!
Baking is even more fun when you get to decorate your own cupcakes, and learning how to use a piping bag is a great way to make your treats look extra special! In this easy piping bag tutorial, we’ll guide you step-by-step to make beautiful, fun designs on your cupcakes. Whether you’re a first-time baker or a cupcake decorating expert, this tutorial is perfect for kids (with a little help from grown-ups!) to create yummy, fancy treats.
Piping Bag Tutorial for Kids
What You’ll Need:
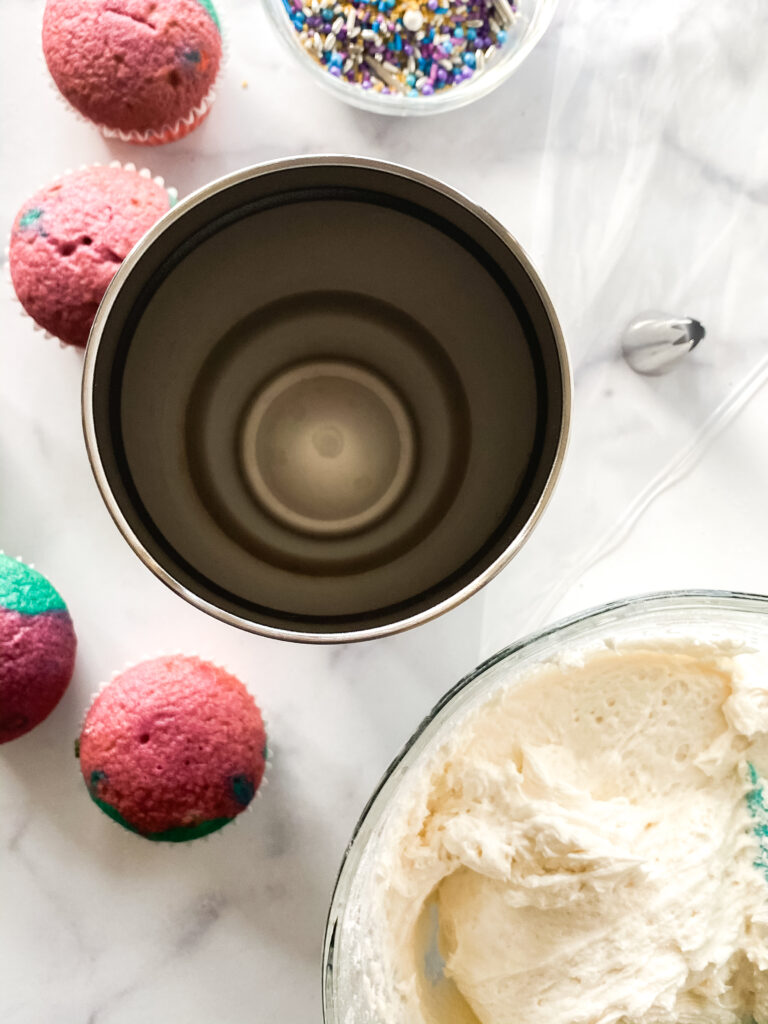
- Tall Cup: A tall cup helps hold the piping bag steady while you fill it with frosting.
- Piping Bag: This is where your frosting goes. You can use a disposable piping bag, which makes clean-up easy.
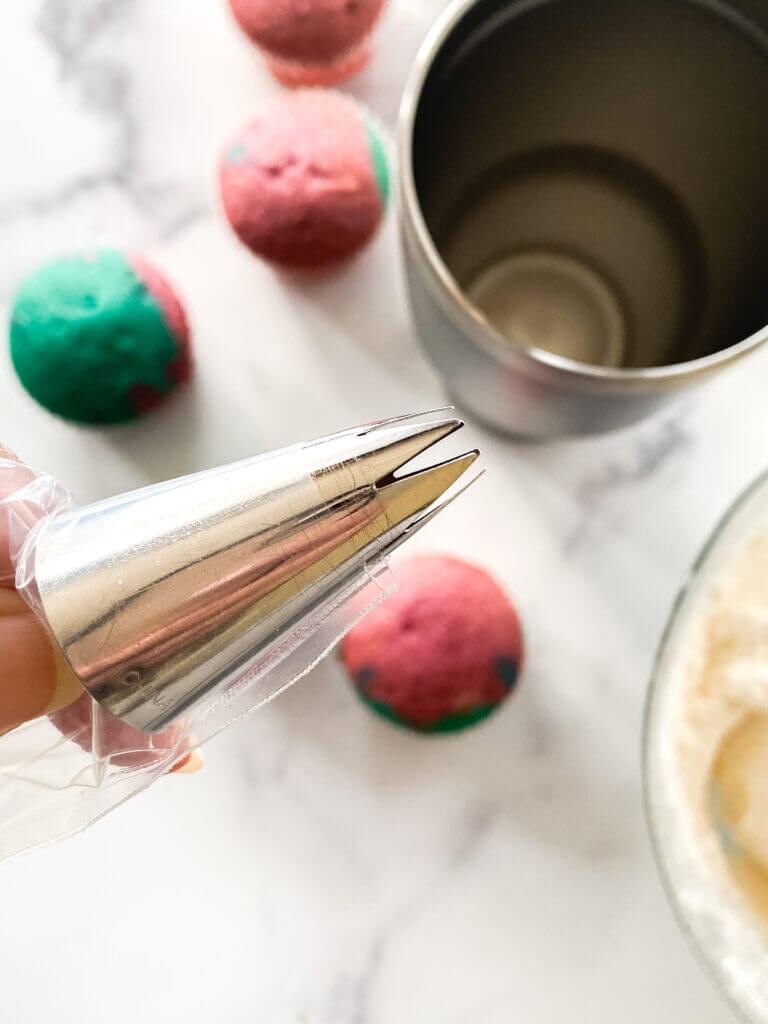
- Piping Tip (1M or 2D): A star-shaped tip makes a pretty design on top of your cupcake.
Ingredients:
- Frosting: Make sure your frosting is soft and fluffy so you can pipe it easily. You can use store-bought frosting or homemade frosting that’s smooth and creamy.
Instructions:
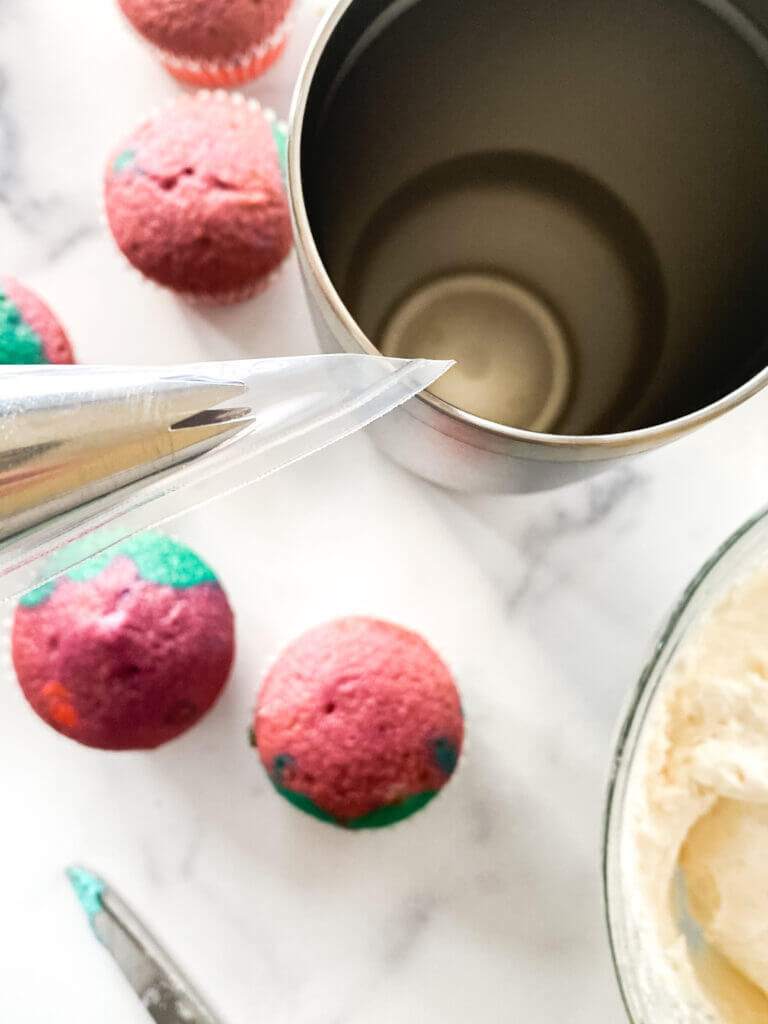
- Get Ready to Pipe: Grab a tall cup and put the piping bag over the top, folding the edges of the bag down around the cup. This helps you fill the bag without making a mess!
- Add the Piping Tip: Drop your star-shaped piping tip (1M or 2D) into the piping bag. Make sure it’s sitting at the bottom, ready to pipe out the frosting in a pretty star shape.
- Fill the Bag: Now, it’s time to add the frosting! Fill the piping bag with frosting, but don’t overfill it. If you’re helping a younger child, don’t worry about filling the bag too much – just about halfway is perfect.
- Twist and Seal: Once the bag is filled, twist the top of the bag to seal it and keep the frosting inside. Hold the bag tightly but gently to make sure the frosting stays in place.
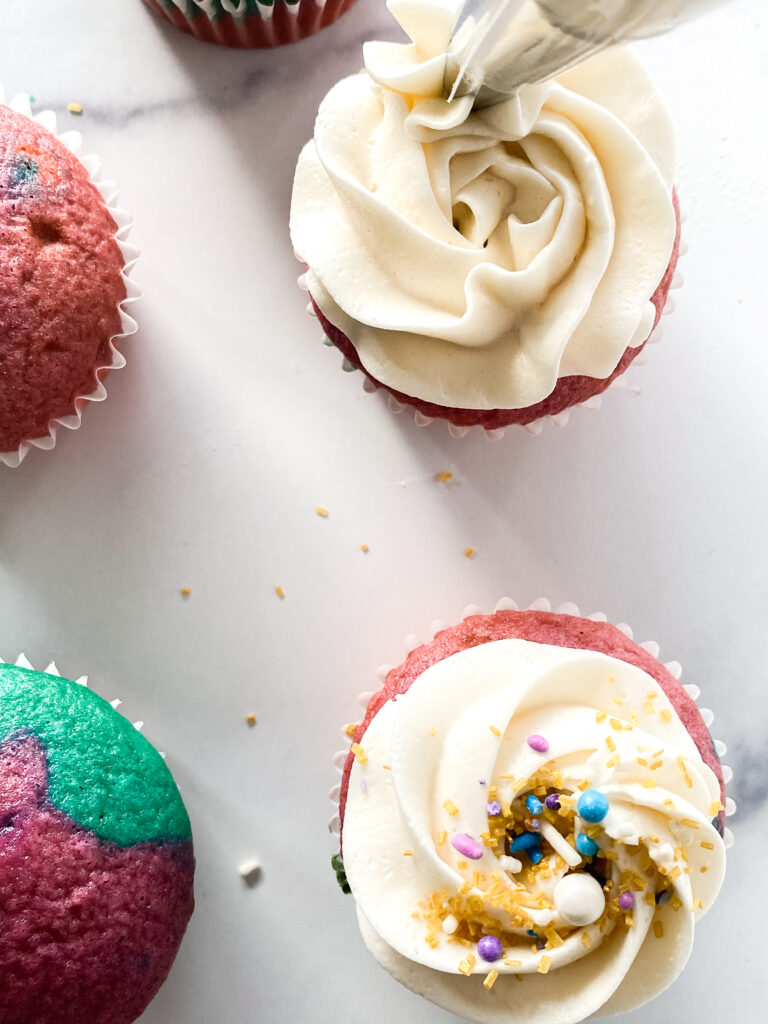
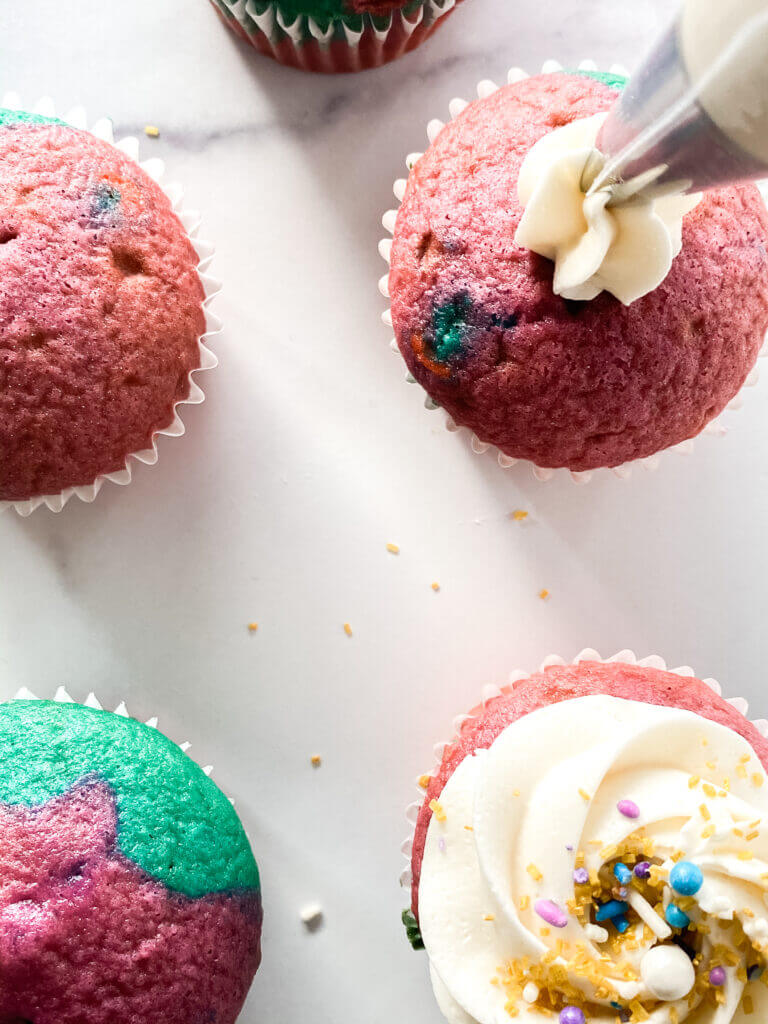
- Start with the Center: Position the piping bag over the center of your cupcake. Apply light pressure and pipe a small star in the middle of the cupcake. This is the base for your design.
- Make the Swirl: Now, without letting go of the pressure, lift the piping bag slightly above the center star, and start to pipe around it in a tight circle. The frosting will create a beautiful swirl around the star. Keep your hand steady and try to make the circle even.
- Finish the Design: Once you’ve made your swirl, stop applying pressure, and pull the piping bag off the side of the cupcake. This helps the swirl stay in place and gives it a nice, clean look.
- Add Some Fun Decorations: To make your cupcake even more fun, add sprinkles or colorful decorations right away while the frosting is still fresh!
Pro Tips for Kids (and Parents!):
- Light Pressure: Don’t press too hard on the piping bag! A little pressure goes a long way, and it will give you better control over the frosting.
- Perfect Frosting Consistency: Make sure the frosting isn’t too runny or too stiff. It should be light and fluffy – the perfect texture for piping.
- Take Your Time: It might take a little practice to get your swirl just right, but don’t worry! The more you pipe, the easier it will get. Keep having fun with it!
FAQs:
- Can I use a different frosting? Of course! You can use any frosting you like, whether it’s vanilla, chocolate, or a colorful buttercream. Just make sure it’s soft enough to pipe easily.
- What if my frosting is too thick? If your frosting is too thick to pipe, you can add a tiny bit of milk (just a spoonful) to make it smoother. Stir it well and try piping again.
- Can I decorate other treats with a piping bag? Yes! This piping bag technique works for cupcakes, cookies, cakes, and even brownies. Let your creativity shine!
- How do I store the cupcakes if I have leftovers? You can store your decorated cupcakes in an airtight container. They’ll stay fresh for up to 3 days at room temperature, or you can refrigerate them for a little longer.
Decorating cupcakes with a piping bag is such a fun way to get creative in the kitchen! With a little practice, you’ll be able to pipe beautiful designs and impress your friends and family. So, grab your piping bag, start decorating, and have fun! Happy baking, and remember – the best part is eating your yummy creations at the end!
Recommended Frosting Recipes:
- American Crusting Buttercream Recipe
- Easy Swiss Meringue Buttercream Recipe
- How to make the perfect chocolate buttercream
- How to make black buttercream
- Semi-Homemade Buttercream
Click here to see the full tye-dye cupcake tutorial