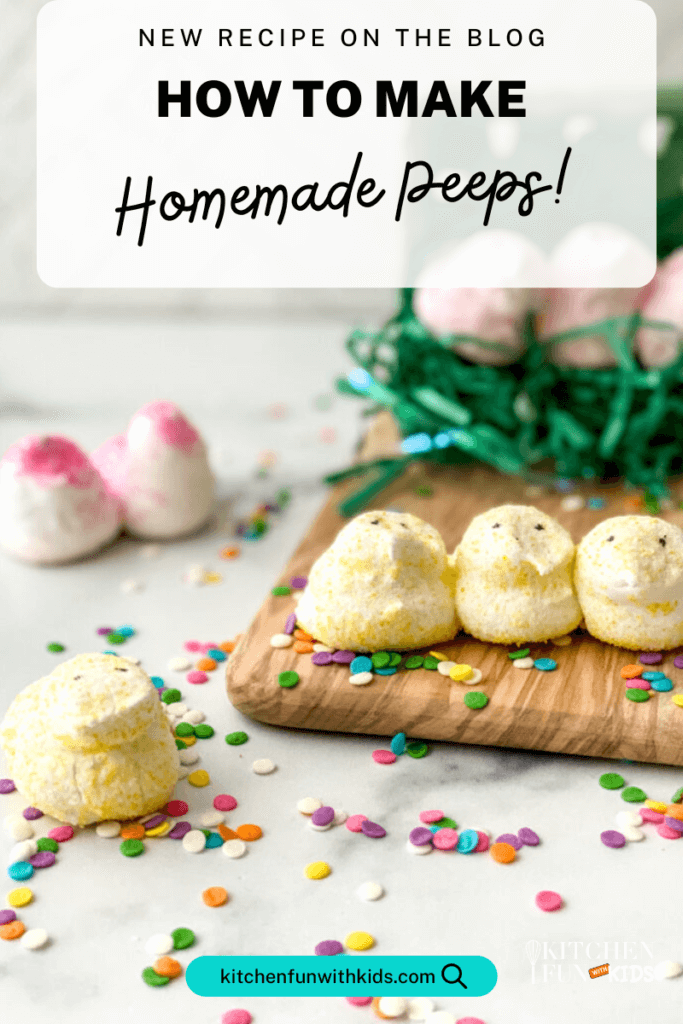
Homemade Peeps
Skip the plastic packaging and artificial flavors—these Homemade Peeps are soft, sweet, and made with love right in your kitchen. With adult help, kids can safely observe and participate in parts of the process while learning about kitchen tools, ingredients, and the magic of marshmallows from scratch.
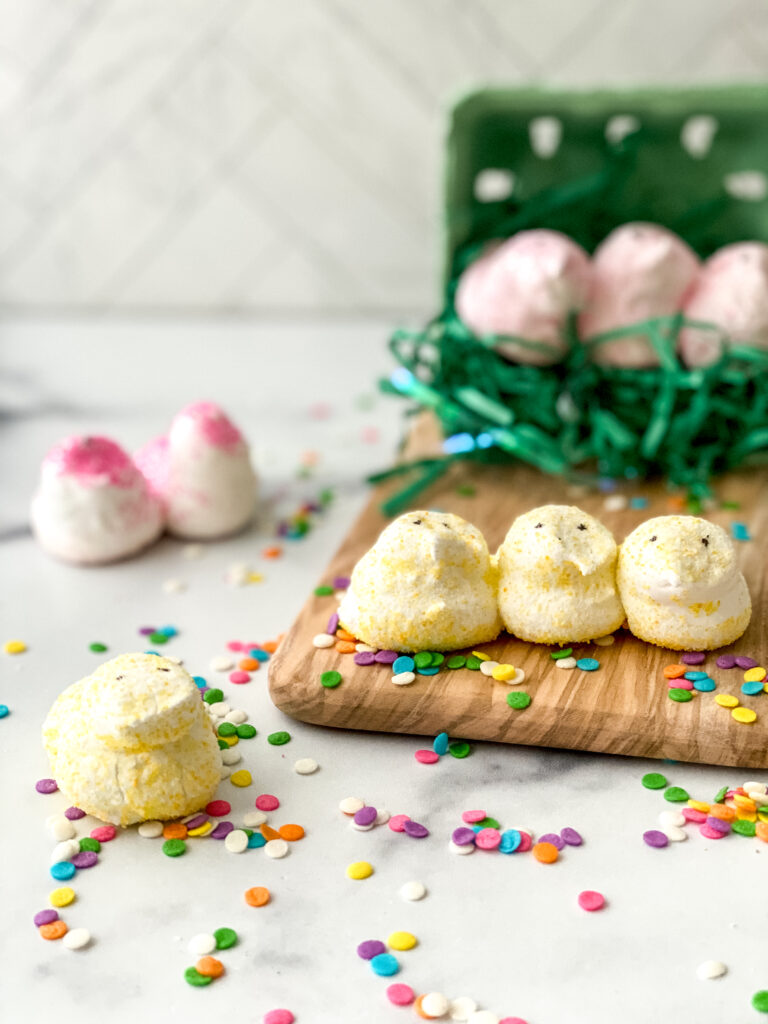
Skill Level: Ages 8+ with Close Grown-Up Supervision
Prep Time: 20 minutes
Cook Time: 15 minutes
Decorating Time: 20 minutes
Total Time: About 1 hour
Why You’ll Love Making This
- A hands-on science-meets-sweet treat activity for spring.
- Custom colors and flavors mean every batch is unique.
- Encourages focus and patience while sparking curiosity.
- Perfect for gifting in Easter baskets or enjoying as a homemade tradition.
Equipment Needed to Make Homemade Peeps
- Heavy bottom saucepan
- Glass measuring cup
- Electric Mixer with whisk attachment
- 16 inch Pastry Bag
- Rubber Spatula
- Large Round Tip
- Silicone Pastry Brush
- Parchment-lined baking sheets (1 per color)
- Candy thermometer (optional)
Ingredients Needed to Make Homemade Peeps
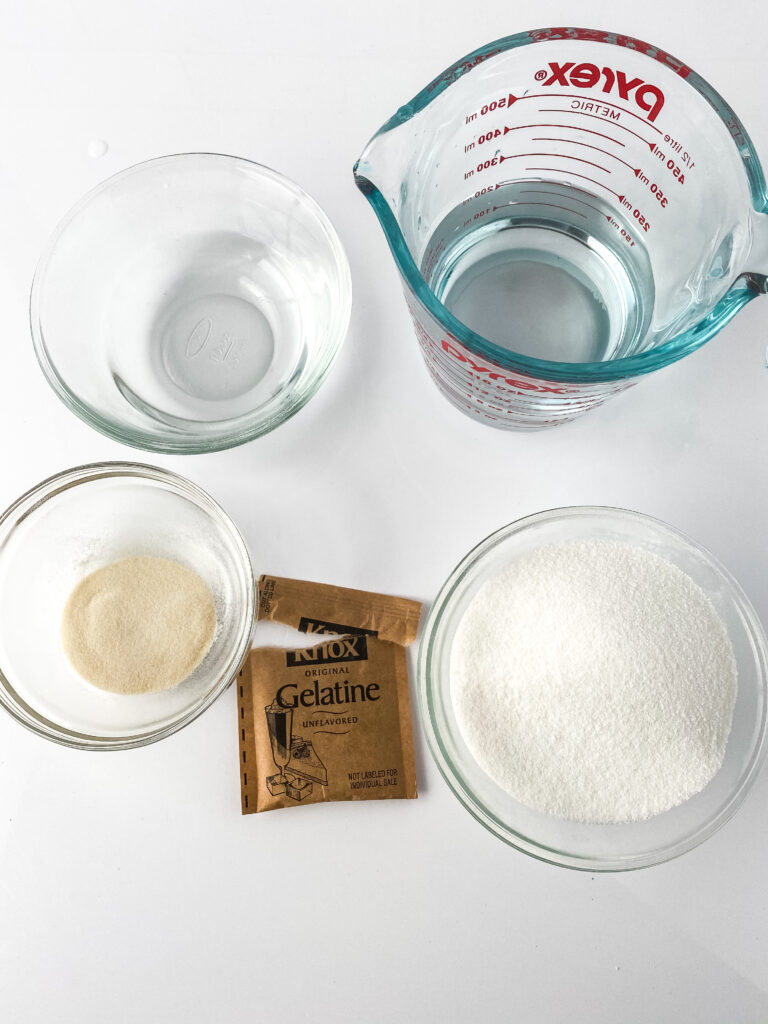
Make Homemade Peeps with the following essential ingredients:
- 1 package (2 teaspoons) unflavored gelatin
- 1/3 cup cold water
- 1 cup granulated sugar
- 1/2 cup water
- 1 teaspoon vanilla extract
- Colored sanding sugar (yellow, pink, green, purple, etc.)
Step-by-Step Instructions
Step 1: Bloom the Gelatin
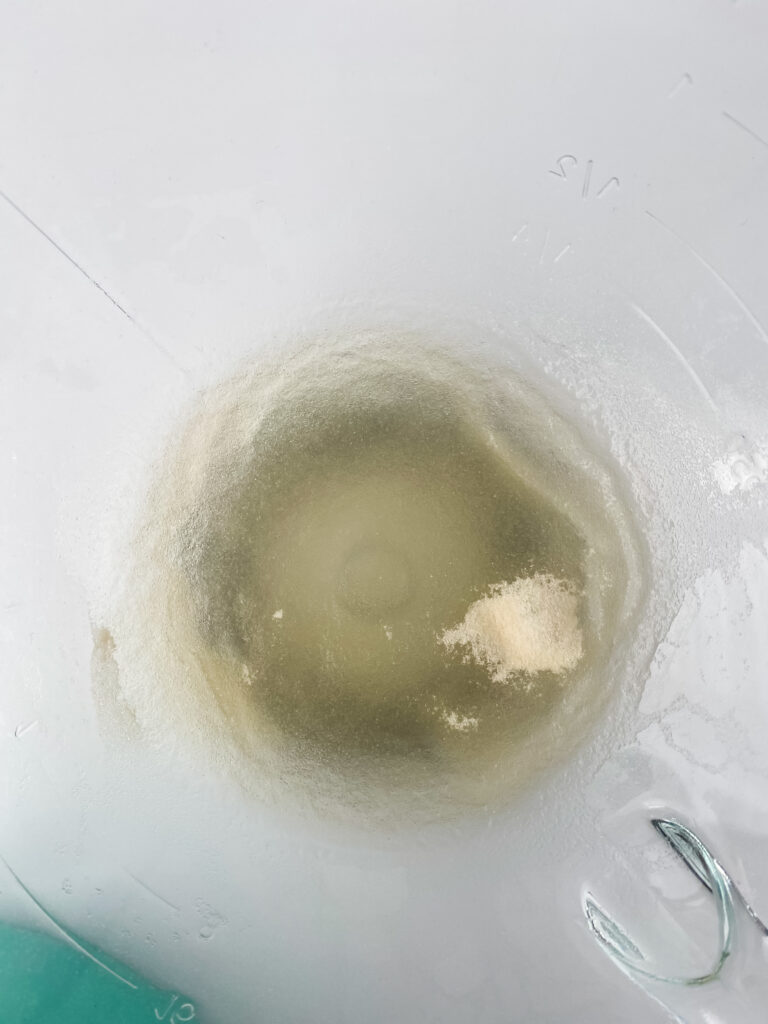
Sprinkle the unflavored gelatin evenly over 1/3 cup of cold water in the bowl of your stand mixer. Let it sit and dissolve while you prepare the sugar syrup.
Parent Tip: Avoid dumping the gelatin in one spot. Sprinkling it across the water helps it dissolve evenly and prevents clumping.
Step 2: Make the Sugar Syrup
Pour the granulated sugar and 1/2 cup of water into your saucepan. Stir to saturate.
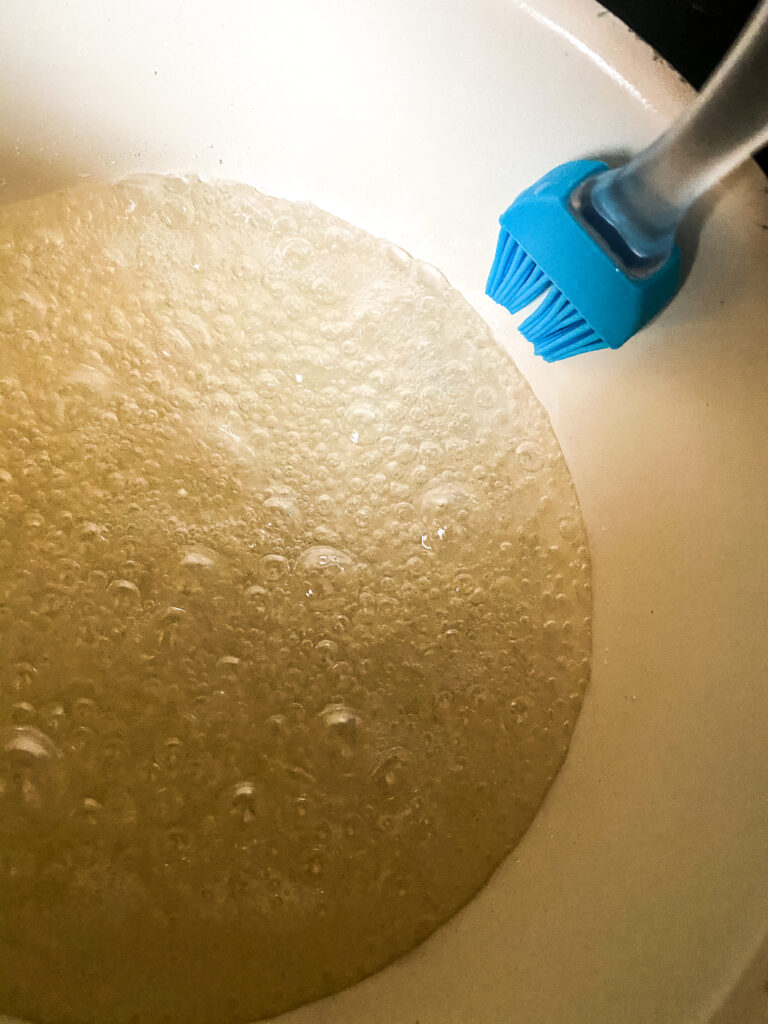
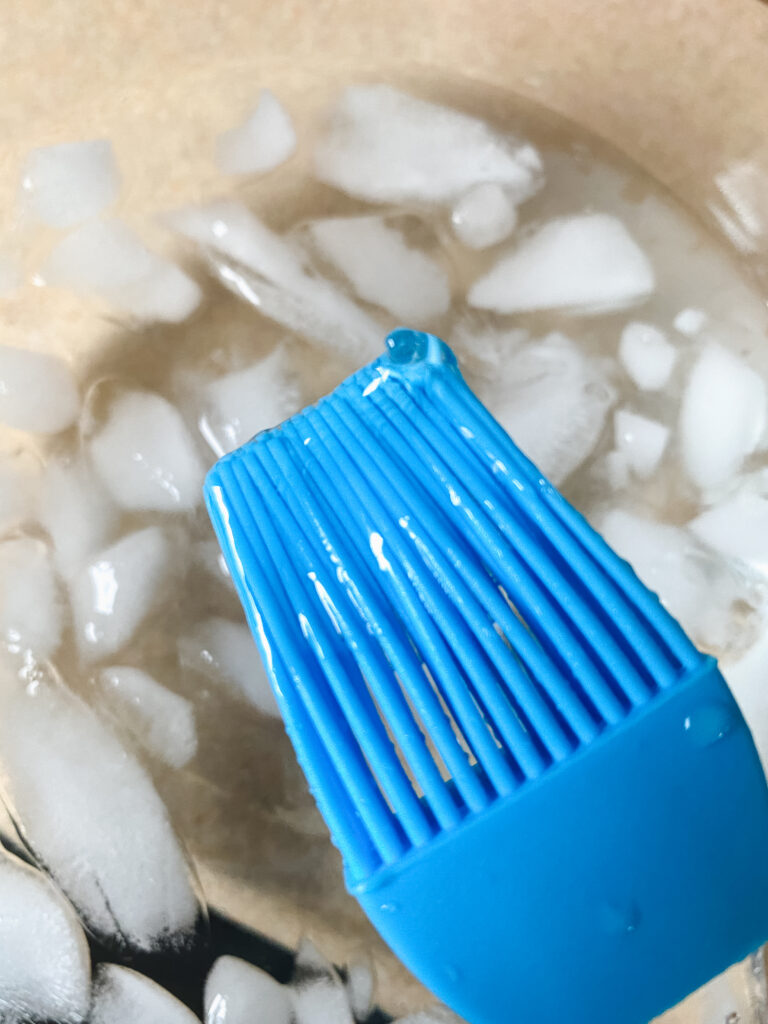
Place over medium-high heat and cook—without stirring—until the temperature reaches 230°F, or soft-ball stage. Use a candy thermometer or test with a cold water bowl by dipping a silicone brush into the syrup and placing it into ice water. The syrup should form a soft ball.
Parent Tip: Brush down the inside of the pot with water using a silicone pastry brush to prevent crystallization around the edges.
Step 3: Whip the Marshmallow
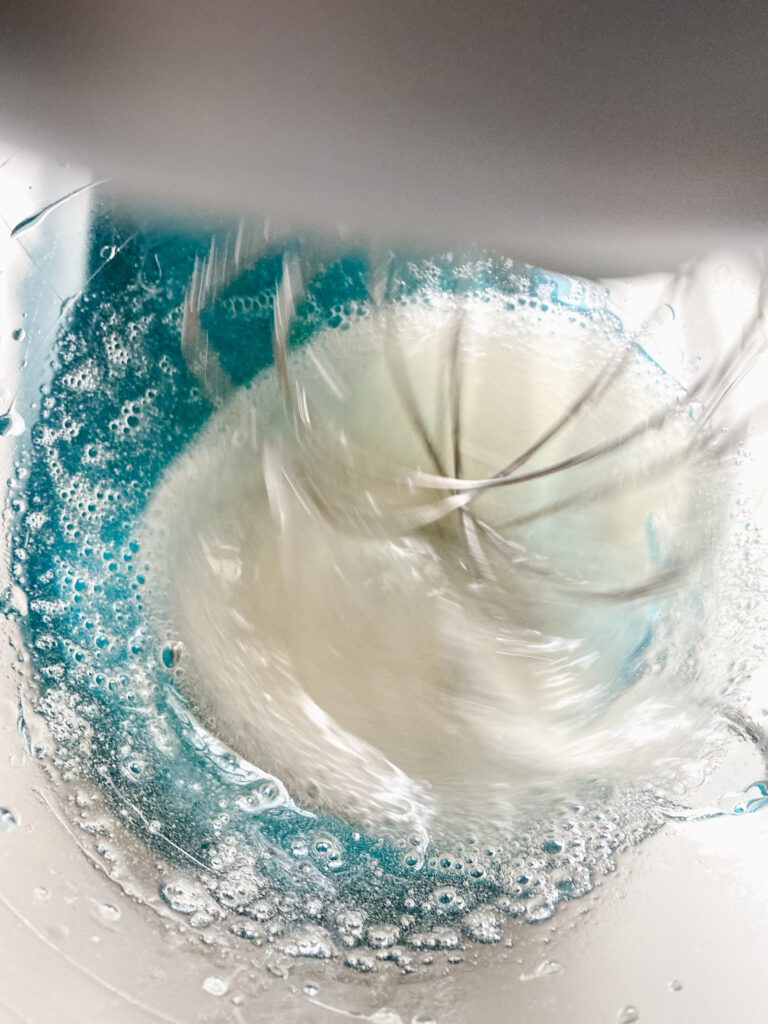
With your mixer on low, begin to break up the gelatin. Carefully and slowly pour the hot sugar syrup into the bowl. Once fully added, turn the mixer to medium and beat for 4–5 minutes until the mixture turns white and begins to look like icing. Add vanilla.
Then, increase the speed to high and whip for 8–10 more minutes until stiff peaks form and the marshmallow triples in size.
Shaping and Decorating
Step 4: Set Up Your Sugar Station
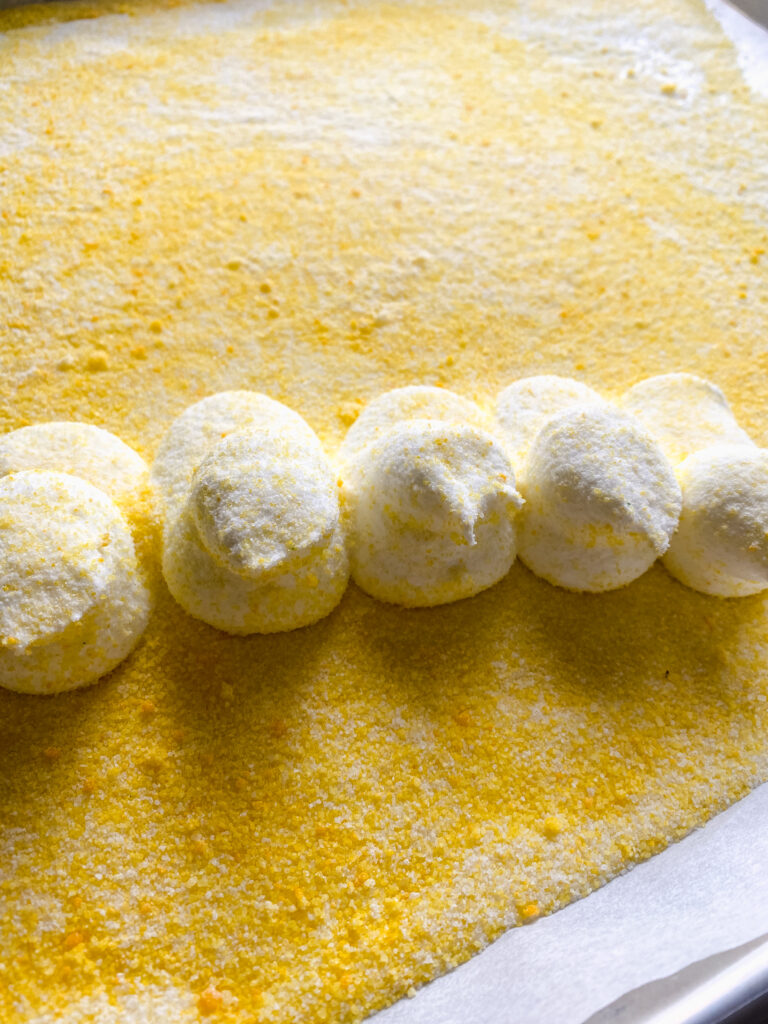
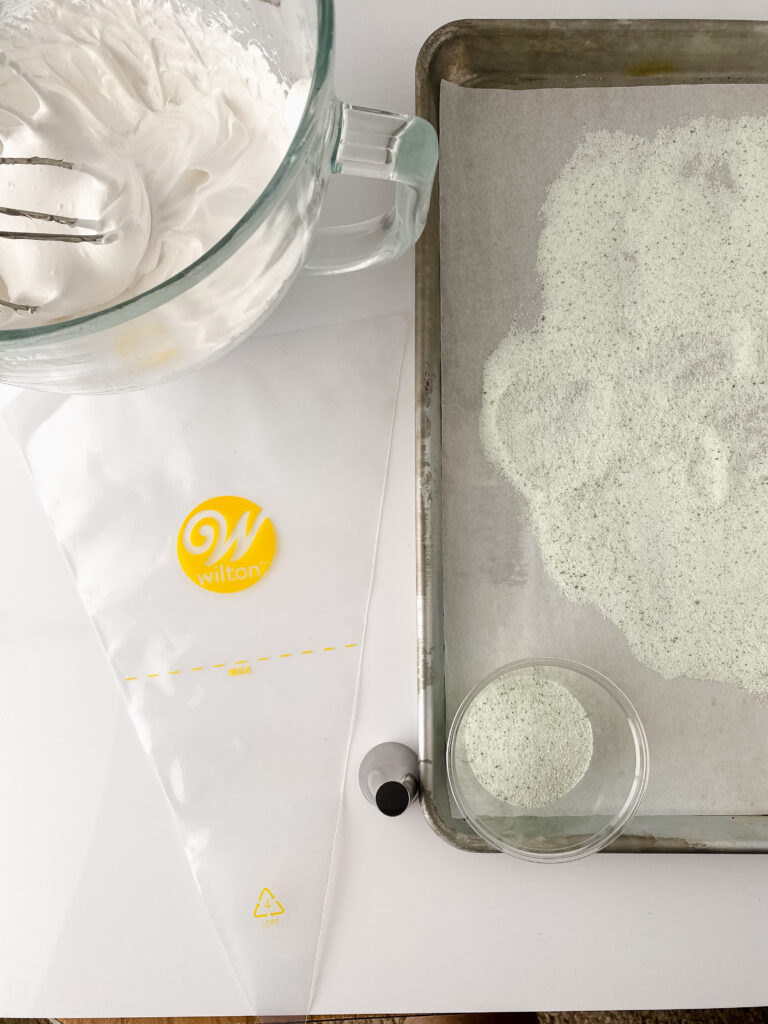
Line a baking sheet with parchment paper. Sprinkle a generous layer of sanding sugar to prevent sticking.
Step 5: Fill the Piping Bag
Attach your round tip to a large piping bag. To fill, place the piping bag into a tall cup, fold the top over the edge, and spoon the marshmallow mixture into the bag.
Step 6: Pipe the Peeps
On the sanding sugar-lined baking sheet, pipe a thick line, then lift upward to form the head. Pull off quickly or pinch to shape the beak.
Repeat this shape across your baking sheet. Work quickly—marshmallow sets fast.
Chef Tip: If the marshmallow sticks to the tip or your fingers, dip them in sanding sugar to help release the shape.

Pro Tips for Success
- Make sure the sugar syrup reaches the proper temperature—this is what gives the marshmallow its bounce.
- Using multiple piping bags? Keep each color separate and prep one tray per color.
- Be patient with the mixing—it’s the most important part of the texture.
- Use gel food coloring in your sanding sugars to make your own custom blends.
Make It Your Own
- Switch up the flavor by adding lemon, peppermint, or coconut extract.
- Use pastel sanding sugars for spring or go bold with bright summer colors.
- Try shaping into hearts or stars for other occasions.
Tips for Grown-Ups Assisting
- This recipe involves boiling sugar, which is extremely hot and not safe for young children to handle directly.
- Let your child observe the syrup bubbling and participate in the safe steps like measuring ingredients, watching the marshmallow whip, filling the piping bag, or sprinkling sanding sugar.
- Always supervise closely and help with piping if needed—especially for ages under 10.
FAQ from Chefs-in-Training
Can I make these in different shapes?
Yes! While bunnies are classic, you can pipe stars, hearts, or swirls with the same method.
How long do they stay fresh?
Store Homemade Peeps in an airtight container at room temperature for up to five days. Avoid refrigeration.
What if I don’t have a candy thermometer?
Use the ice water method to test the sugar syrup. Once a small spoonful forms a soft, pliable ball, it’s ready.
Why Homemade Peeps Are a Seasonal Favorite
There’s something magical about making a favorite childhood candy from scratch. These Homemade Peeps aren’t just delicious—they’re a memory in the making. Whether it’s for a springtime kitchen adventure or a meaningful gift from little hands, this recipe invites connection, creativity, and sweet results.
Pin for Later!
This site contains links that allow me to earn an affiliate commission at no cost to you.


